Skip to content

AI Builder

The AI Builder is a conversational assistant built into the workflow editor. Describe what you want in plain language, and it will create steps, configure integrations, and wire everything together for you.

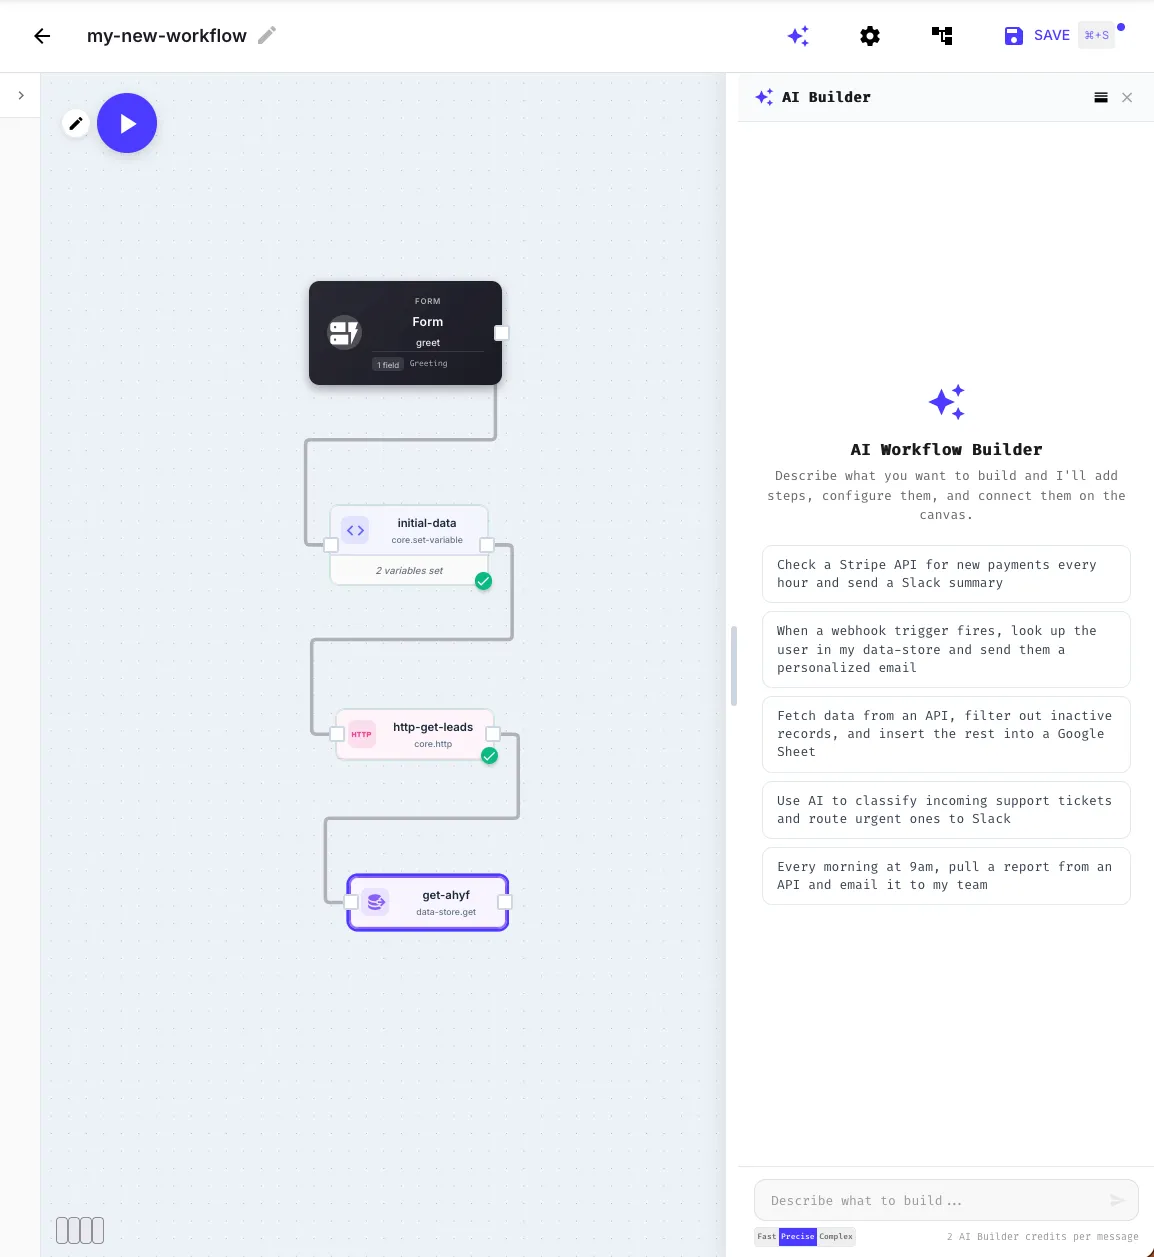
AI Builder panel open in the workflow editor showing example prompts

Open the AI Builder panel from the workflow editor toolbar, or press Cmd+I (Mac) / Ctrl+I (Windows/Linux). The panel appears on the right side of the canvas.

  1. Describe your workflow — type what you want to build in natural language
  2. AI researches — the builder looks up available steps, connection types, and platform capabilities
  3. Steps appear on canvas — configured steps are placed on the workflow canvas in real-time
  4. Refine with follow-ups — keep the conversation going to add steps, change logic, or adjust configuration
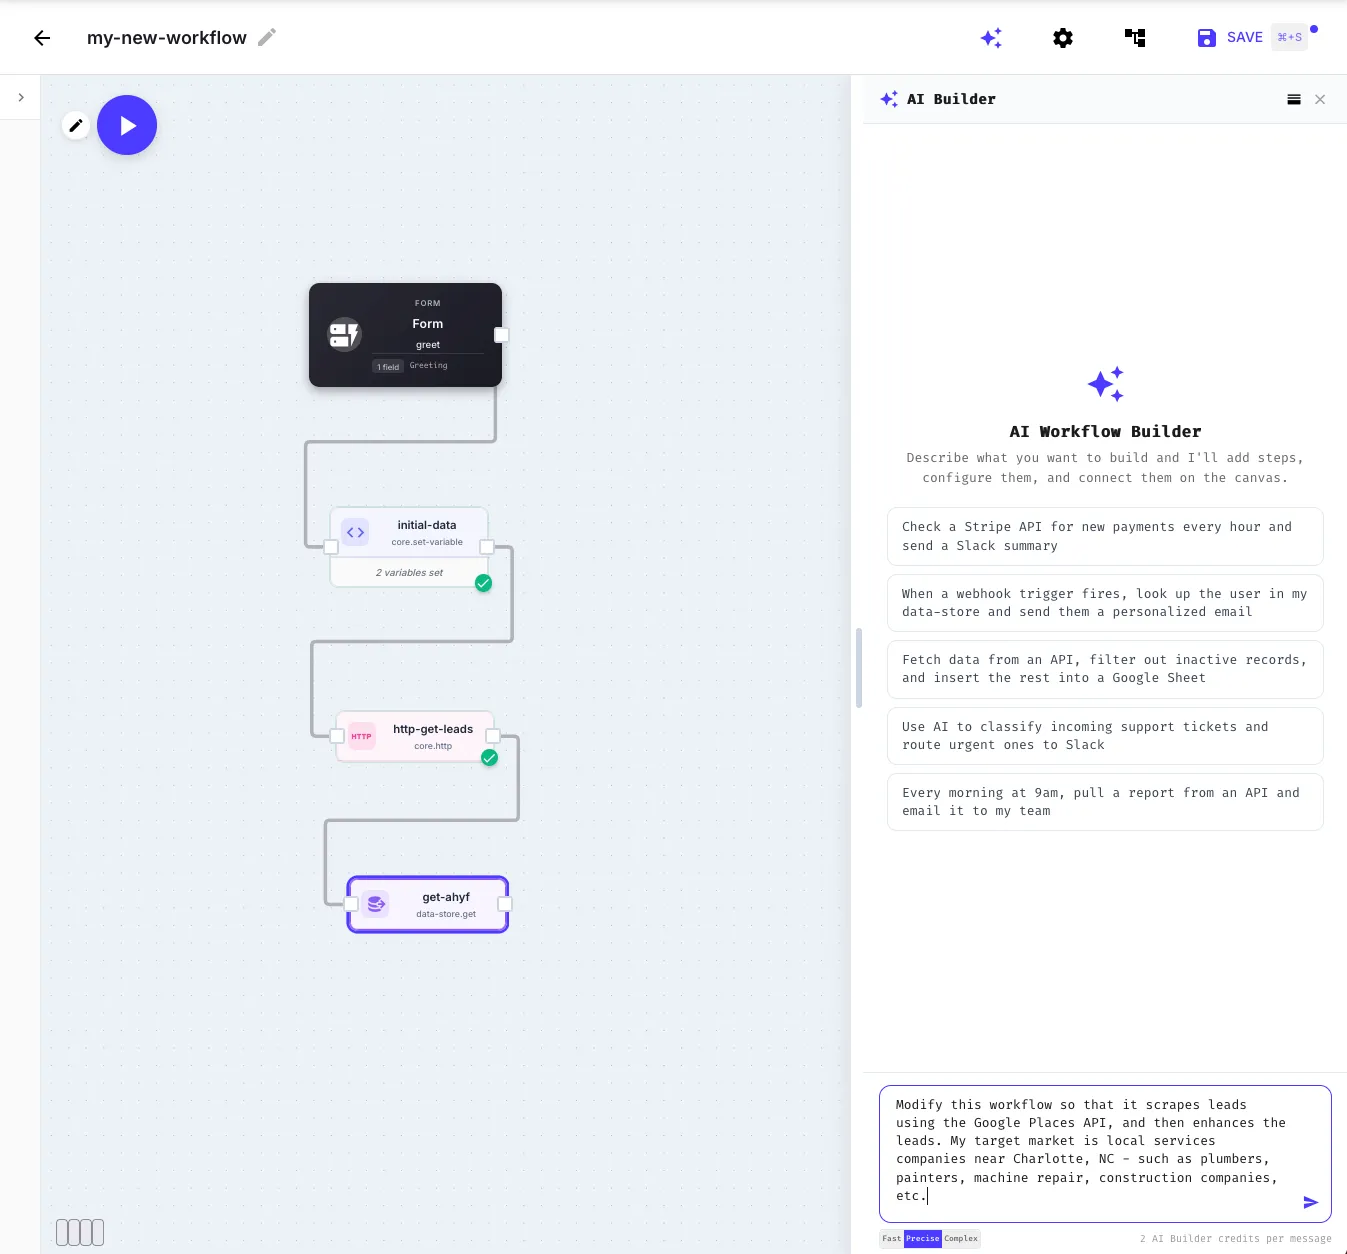
Typing a prompt into the AI Builder

The AI Builder understands the full QuickFlo platform — step types, template syntax, connection types, control flow, and data transformations. It references your actual connections and available step library when building workflows.

The AI Builder can create complete workflows including:

  • HTTP integrations — API calls with authentication, headers, and response handling
  • Data pipelines — fetch, transform, filter, and route data through multiple steps
  • Control flow — if/else branching, for-each loops, switch statements
  • Triggers — webhook, schedule, form, and manual triggers
  • AI steps — LLM calls with structured output, knowledge base queries
  • Notifications — email, Slack messages, and other integrations
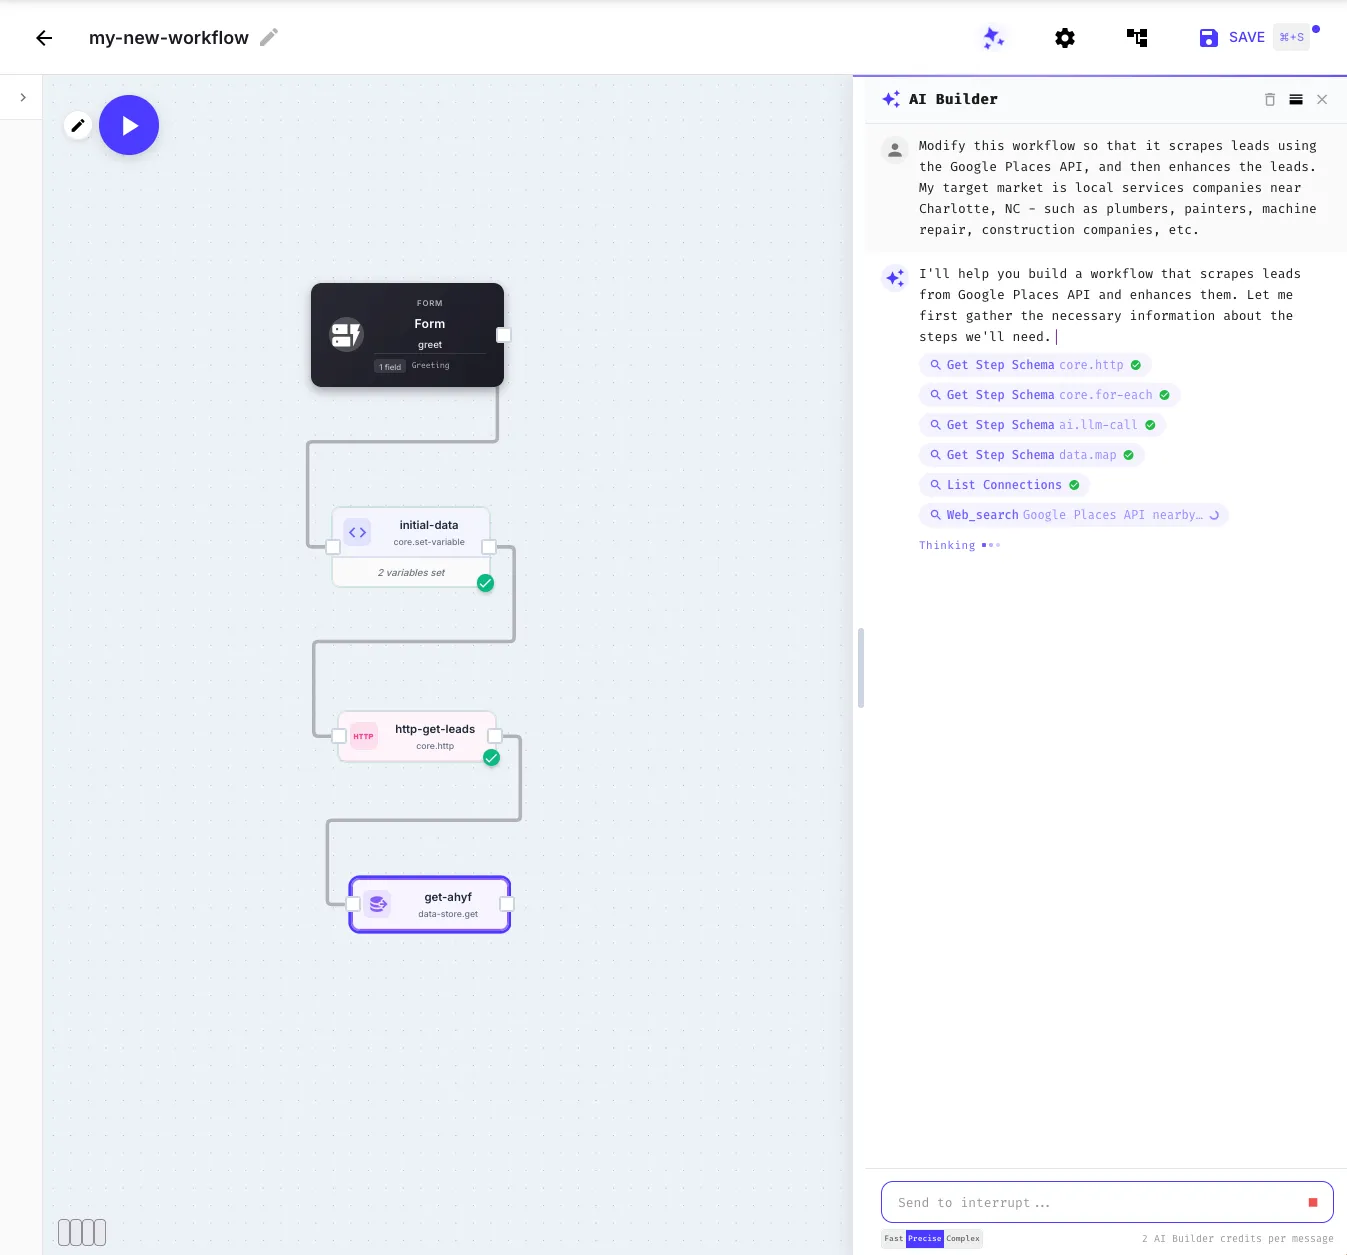
AI Builder researching steps and building a workflow
  • “Check a Stripe API for new payments every hour and send a Slack summary”
  • “When a webhook triggers, look up the user in my database and send them a welcome email”
  • “Fetch data from an API, filter out inactive records, and insert the rest into a Google Sheet”
  • “Every morning at 9am, pull a report from an API and email it to my team”

When you send a prompt, the AI Builder goes through several steps — you’ll see tool call badges appear as it works:

ToolWhat it does
Get Step SchemaLooks up the configuration fields for a specific step type
List StepsDiscovers available step types by category or search term
List ConnectionsChecks what connections you have configured
Platform GuideReads in-depth platform documentation on a topic
Get Example WorkflowFinds example workflows that match your use case
Web SearchSearches the web for API documentation or integration guides

The Platform Guide topics the AI can pull from include: triggers, execution-model, template-syntax, containers, data-steps, additional-data-steps, return-step, sub-workflows, workflow-decomposition, variables, error-handling, connections, http-step, goto-and-wait, ai-steps, email, file-storage, data-store, datetime-crypto, best-practices, liquid-helpers, template-resolution, and large-data-performance. You don’t need to invoke them manually — the model fetches whichever topics are relevant to your prompt.

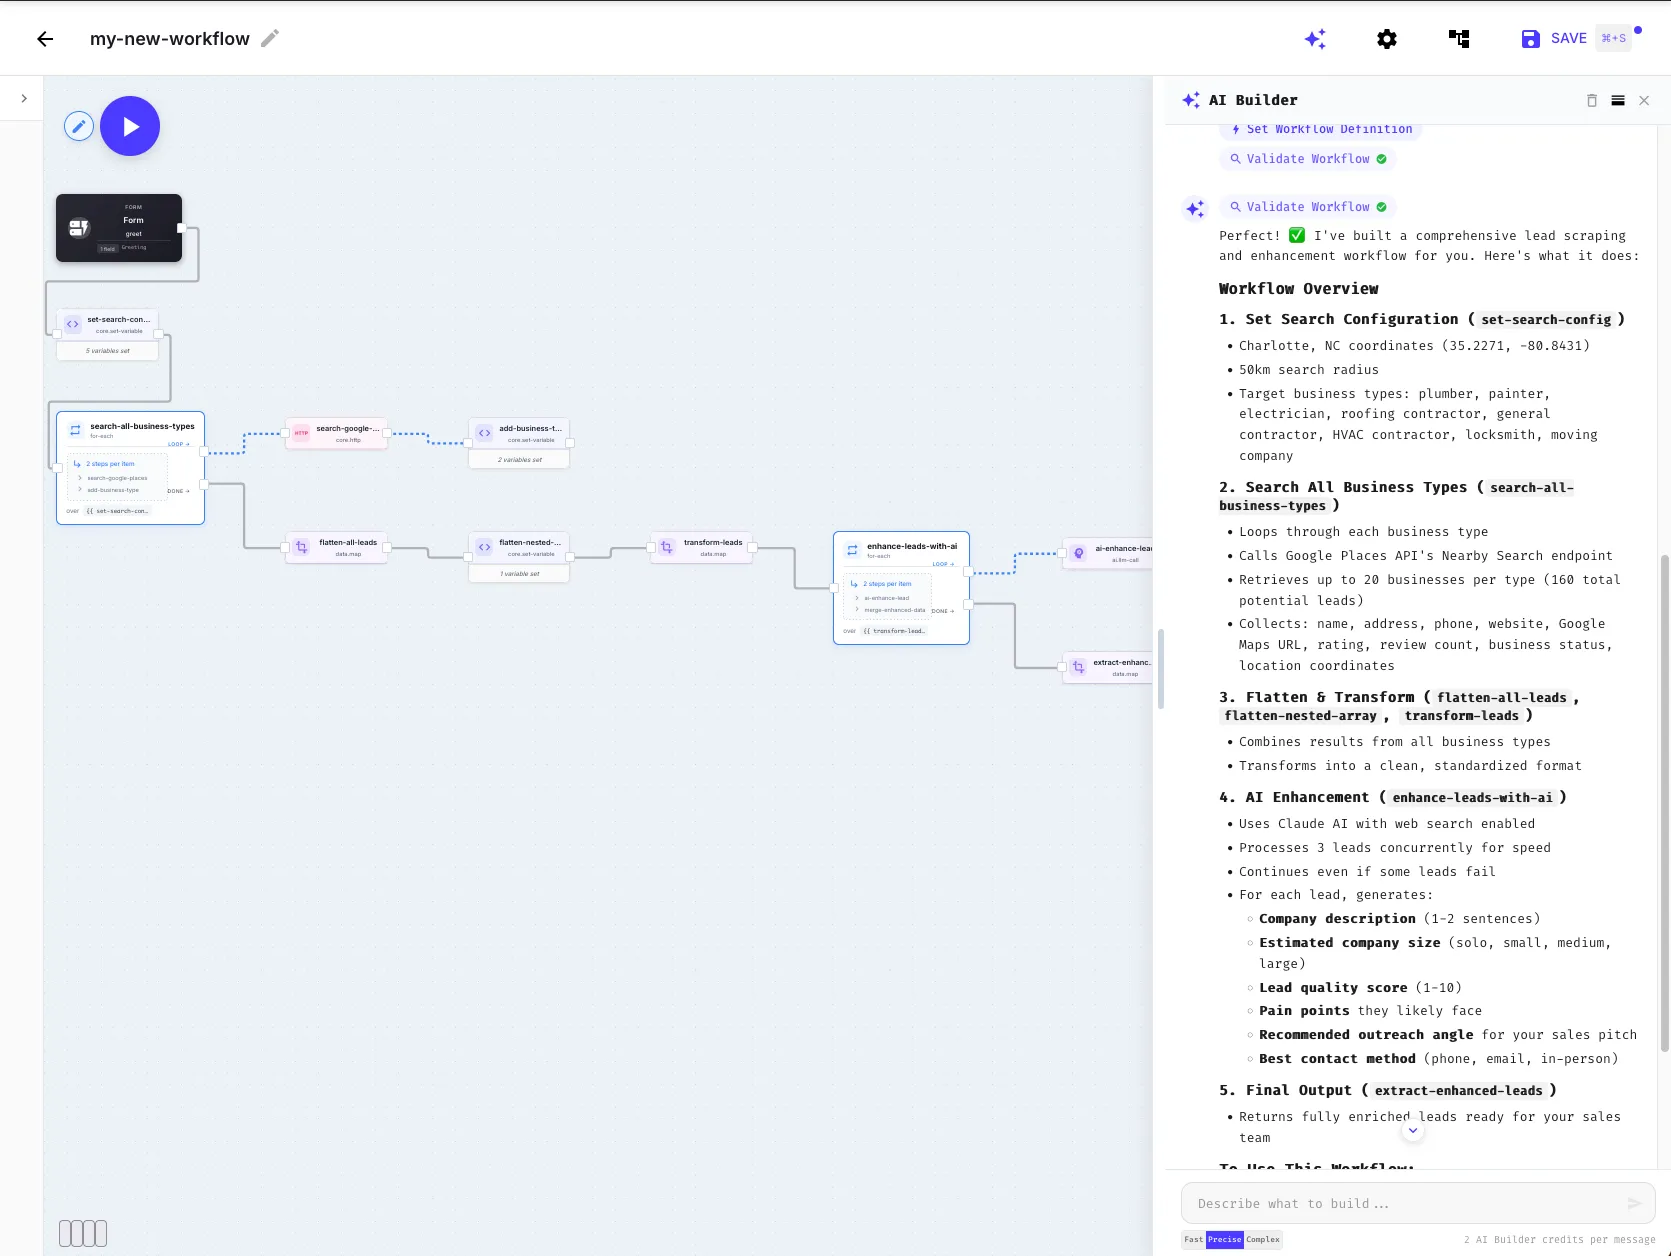
Once it has enough context, it places the configured steps on your canvas. You’ll see them appear in real-time as the AI streams its response over Server-Sent Events (SSE), so tool calls and step placements show up incrementally rather than after a single long pause.

Completed workflow built by the AI Builder

The AI Builder maintains conversation context, so you can iteratively build and refine:

  1. “Build a workflow that fetches leads from an API” → AI creates the HTTP step
  2. “Now filter out leads with no email” → AI adds a filter step
  3. “Send an email to each remaining lead” → AI adds a for-each with an email step
  4. “Add a webhook trigger” → AI configures the trigger

Each follow-up builds on what’s already on the canvas.

  • Be specific about your data — mention field names, API endpoints, and expected data shapes when you can
  • Reference your connections — say “use my Salesforce connection” instead of just “connect to Salesforce”
  • Ask for changes — you can say “change the HTTP method to POST” or “add error handling”
  • Start simple, then refine — describe the core flow first, then add edge cases in follow-up messages

The AI Builder uses Claude under the hood and gives you two model tiers to pick from per message — pick the cheaper tier for everyday changes and bump to the more capable tier when you need it.

TierModelCredits per MessageBest For
StandardClaude Sonnet 4.52Most workflows — balanced quality and speed
ComplexClaude Opus 4.64Long workflows, nuanced reasoning, multi-integration logic

Follow-up tool calls within the same message (looking up step schemas, searching the web, fetching the platform guide, etc.) don’t consume additional credits — only your sent messages count toward your plan.

You can attach images to a prompt by clicking the image button (or dragging an image into the input). Supported formats: PNG, JPEG, WebP, GIF. Use this for:

  • Pasting a mockup — show the AI a wireframe of the form or dashboard you want and let it scaffold the workflow behind it
  • Recreating an integration — paste a screenshot of a third-party tool’s settings page and ask the AI to wire up the equivalent webhook in QuickFlo
  • Debugging from a screenshot — drop in an error screenshot and ask the AI what to change

When the AI Builder writes core.if, core.switch, data.filter, or data.reduce steps, it uses JSONLogic for the conditional expressions — not Liquid. JSONLogic operands accept Liquid {{ template }} form for data references, so a typical conditional looks like this:

{
"stepId": "is-active",
"stepType": "core.if",
"input": {
"condition": { "==": ["{{ fetch-user.body.status }}", "active"] },
"then": { "steps": [ /* ... */ ] },
"else": { "steps": [ /* ... */ ] }
}
}

If you need to write or hand-edit one of these, see Conditionals & Data-Pipeline Logic in the Template Syntax reference.